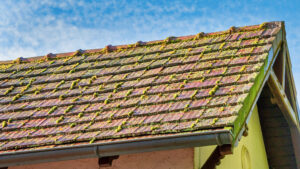
Valleys are the areas most prone to roof leaks. Roof valleys are channels that have been designed to drain runoff water. On shingle roofs, valleys are common leak sites. Like other parts of your roof, valleys can degrade over time because of continuous wear and tear from rainwater or debris that gathers and flows through them before these are drained into the gutters.
It is pretty common for valleys in an older roof to leak at the time of snow as the freezing temperatures, as rare as that might be in areas like Seabrook, and excess weight can compromise worn flashing. Leakage roof valleys are fixed by removing the affected structured elements and shingles and upgrading the flashing of your roof. This guide will help you master the art of repairing valley leaks, but for particularly tricky jobs or peace of mind you can always call on experts in roof repairs.
Why does it start to leak?
There are several reasons why a roof valley leak may be happening. However, these leaks are most often caused due to general wear and tear and down-to-age. For a leaky roof valley, some common culprits are-
- Aging Roofing Materials
- Broken Flashing
- Strong Winds
- Damaged Roofing Membrane
- Leaves and Debris
- Thermal Expansion
- Underlayment
- Cross Wash
How do you repair it?
Repairing Damaged Roof Valley
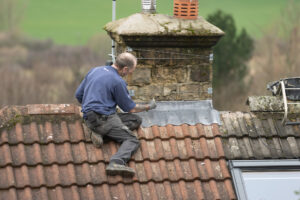
- You need to perform an overall inspection of your roof to understand what exactly is causing the leaking roof valley as well as what needs replacing.
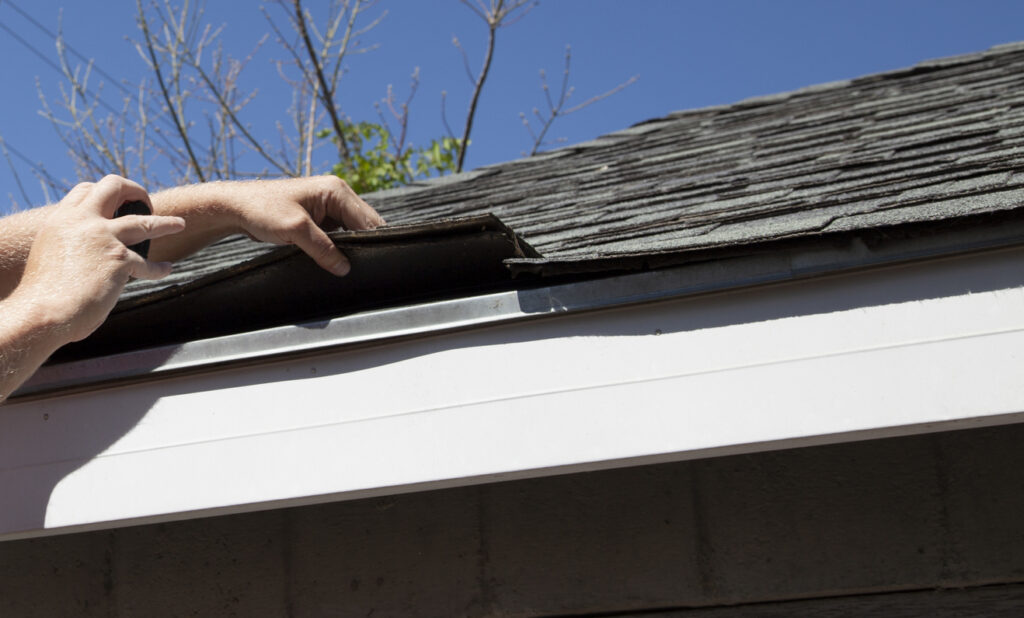
- Clear debris present in your roof valley and its surrounding areas. Next, measure your roof flashing. Maximum flashing is 14 inches wide, however, yours may vary.
- Move to the valley’s highest end and work your way downwards, cleaning shingles from both sides of your valley, be they damaged or not. Experts recommend giving yourself around 8 to 10 inches of clearance on each side of the valley. To loosen the shingles in the affected location, use a nail bar.
Insert the bar under a shingle, and at the location of each nail, pry upward to loosen a nail. With the bar, pull out the nails.
The new layer of flashing can be installed now using either dry-fixing or wet-fixing, depending on your chosen product and your needs.
Installing New Flashing
When your new flashing is in place and wet fixings have been given enough time to dry, fit the tiles back in place carefully that you previously removed, replacing any broken or damaged tiles.
- Start by placing the replacement piece in the valley facing up the groove in the middle with the center of the valley. Make sure the bottom edge of the flashing is aligned perfectly with the lower edge of your roof.
Generally, valley flashing has a standard length of 8 to 12 feet. If your valley is longer, first install the lower piece of your flashing, then overlap the next piece’s lower edge by a foot.
- To alter the flashing’s length, use a metal cutter. This will ensure that it lines up with the lower edge of your roof. At your roof valley’s top edge, check to ensure the flashing is angled properly to line up with the roof’s slope.
To secure the flashing in place, use roofing nails, driving nails at intervals of 1 foot along the outer edges of both sides from top to bottom.
- Next, replace all the shingles that you removed. Ensure their edges are a minimum of 1-inch from the raised center of the flashing piece. Beginning at the lower edge of your roofing, work your way up and move towards the top.
- By nailing the upper edges with proper 11/2-inch roofing nails, attach the shingles for composition or wood shingles 5d shingle nails. Slender and install rows of shingles that can align well with the existing rows on both sides of the valley.
Fix a leaking roof valley
Following the manufacturer’s guidelines during installation, inspecting your roof regularly, and choosing the right materials, most issues may be prevented before they become severe. Nevertheless, if your roof valley is still leaking, you can do plenty of things.
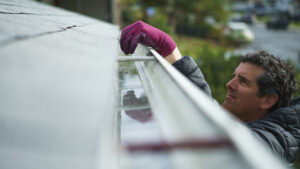
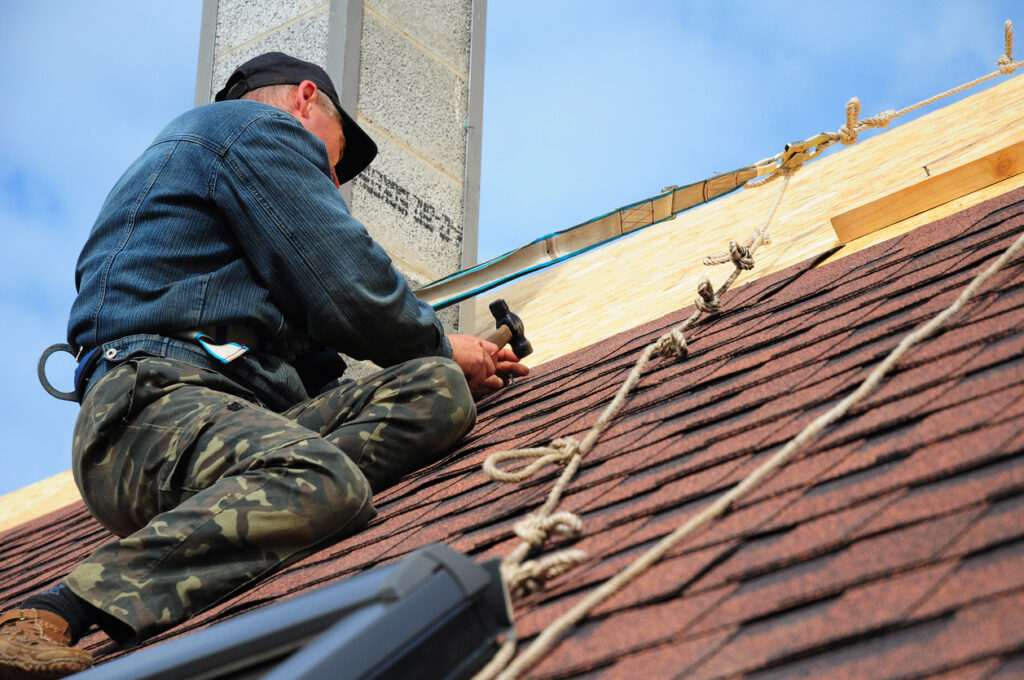
Repair valley leaks timely, or it may lead to structural problems, high levels of humidity and moisture, and mould growth, all of which can be expensive and difficult to repair. Though specialist tools won’t be required to fix your leaking roof, we recommend investing in a sturdy pair of roofing boots. This will ensure you minimize your risk while working at height.
If you are not comfortable carrying out the job or getting onto the roof, you must always hire a professional. Your valley flashing needs to be removed and replaced by a qualified professional, particularly if the flashing is made from lead. This is because of the experience needed to correctly install the lead flashing and the toxicity of the lead.
How not to repair?
Several DIY homeowners think that the best way of solving any roof leak is by applying liberal amounts of caulking. It is important to note that this will make your leaky roof worse. Shingled roofs work by shedding water to the shingles underneath them, and caulking applied in the wrong places can trap the water behind the shingles to prevent it from escaping the system.
Prevent damage to your roof valley
As roof valleys are prone to risk, you can minimize the chance of leaks that occur by
- Timely roof maintenance
- Repairing the roof valley
- Installing new shingles
- Installing water-resistant underlayment
- Ventilate your home
Need help to repair your valley leaks?
Repairing a roof valley leak requires experience, and it is particularly difficult on tile and steep roofs. If you encounter such issues, don’t hesitate to contact reliable roofing professionals at WABO Roofing. We are proficient in handling these kinds of repairs easily and quickly, irrespective of what caused the leak. We will work with you and help you identify the damage, presenting you with options customized specifically to your situation.