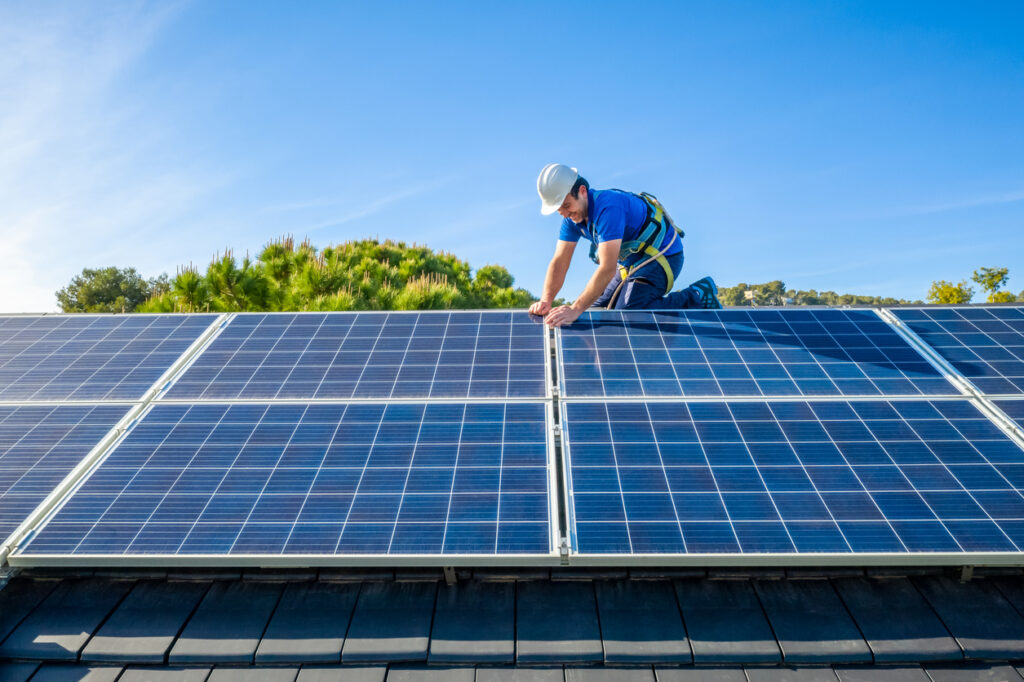
If you have the DIY expertise and resources and are considering switching to a cleaner, less expensive energy source for your home, you must be interested in finding out how to install solar panels on your roof.
The process of installing solar panels isn’t as complicated as it may initially appear if you have the necessary equipment, knowledge, and abilities. In this article, we will go over the entire process of installing solar panels on a roof.
Things To Consider When Installing Solar Panels
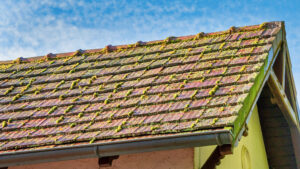
Check Roof Condition
Check your property’s age before considering installing solar panels. Installing solar panels is probably not the greatest idea if you know that you will soon need a new roof or that a portion of your roof is damaged. If possible, complete all the necessary roof repairs prior to installation. If you do it that way, you won’t have to pay extra to take down the work and then reinstall it (in some situations for at least 20 years).
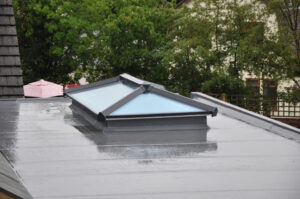
Check The Shape Of The Roof
Roofs come in different shapes and sizes. Make sure your roof has enough room for the solar panels installation before proceeding. If there isn’t enough space, you won’t get the expected return on your investment.
Check The Slope Direction
Solar panels must be placed precisely to create the optimum quantity of power. The majority of experts agree that the panels should face south. However, some think they should face west. In any case, you have to locate these data before the installation may start.
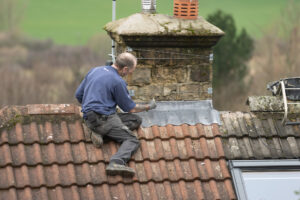
Check Roof Strength
The weight of your roof will increase after the solar panel installation. If the weight of the solar panels becomes too much for the roof to bear, it could collapse. This is extremely unsafe for a variety of reasons, not to mention costly.
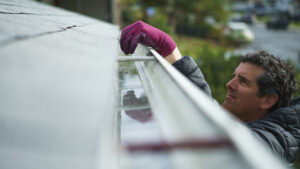
Check The Direction Of Water Flow
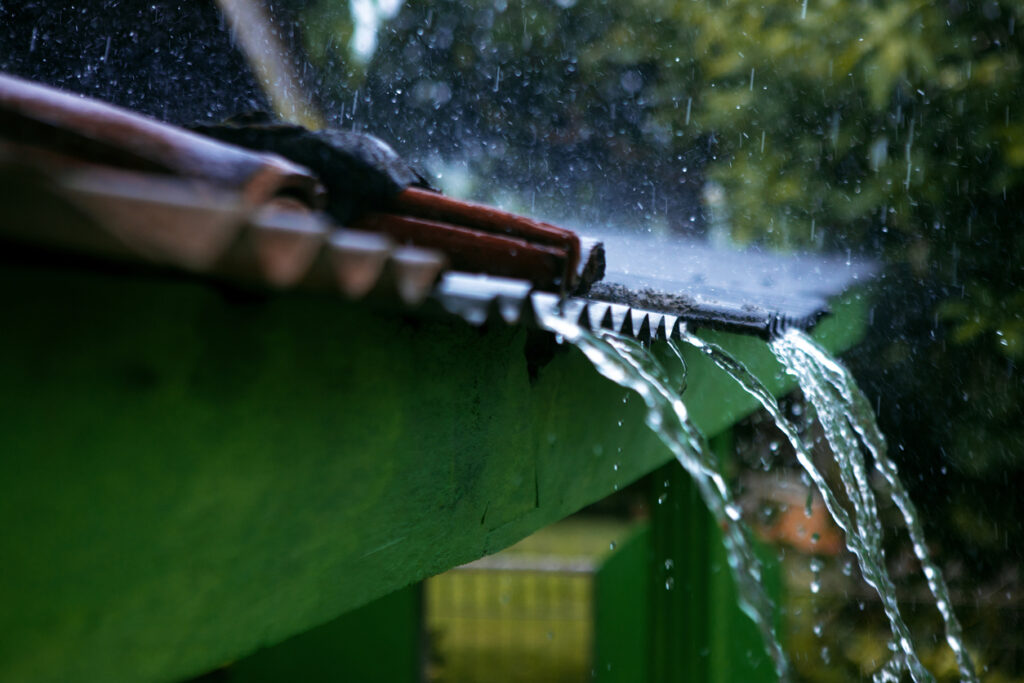
Rain causes water to run off your roof, into the drains, and away from your home. Equipment such as racking and cable harnesses may block appropriate water flow and drainage when installing solar panels. Solar equipment can occasionally cause water to flow in an unexpected direction, resulting in leaks and other problems. To address these difficulties, you will need to remove the solar panels.
Steps To Install Solar Panels
Layout Your Materials
It would help if you first made sure that all necessary items are close by because you cannot constantly move from the roof and return. Ensure you have the following things beside you – a drill and drill bit, a chalk line, a pencil, a tape measure, and a ladder are all required. The remainder should be included in your solar panel deal.
Fix The Stanchions
In order to receive the most sunlight, make sure the building is inclined at least 18 degrees. Locate the ideal location to install the stanchions. The panels are held in place by stanchions to prevent them from being pulled off the roof.
The stanchions, which look like screws, should be installed on the rafters of your roof. If you aren’t sure where the rafters are, utilize your house’s blueprint to find them.
The next step is to secure the stanchions to the roof. Normally, there should be a four feet gap between each stanchion. To install the stanchions, drill holes in the rafters.
Install The Flashing
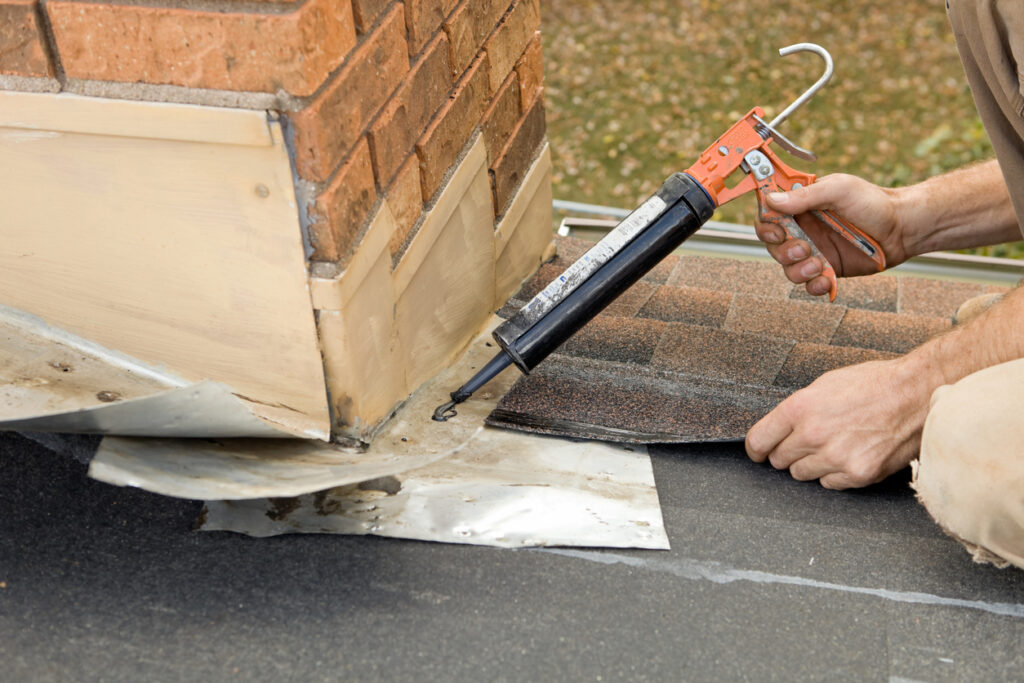
The flashing should be placed underneath the raised shingles. Then, Utilize a bolt to fasten the flashing to the rafters. Once a hole has been drilled, the flashing’s job is to protect water from entering your home. Along with the flashing, the bolts also have a seal that aids in preventing leaks.
Attach The Rails
Insert the screws, then tighten them. After that, fasten the top and lower rails to the stanchions using bolts. An impact driver will make sure everything is securely connected in this place.
Determine The Distance Between The Rails
The following step is to guarantee that the rails are parallel. How? Using a measuring tape, determine the distance between them. The diagonal distance should be the same. If you discover that the spacing is different, adjust the rails accordingly.
Install the Middle Rail
The centre rail should connect the top and bottom rails.
Attach the Wiring
Remember to install a power inverter kit under each panel. Then, check that your inverter kits have copper wires. Connections should be made into and out of the solar arrays.
Pull wires from your panels to a power meter and then out to a sub-panel. The rail has a trunk, so pass the wires to the power inverter kits.
Mount The Panels
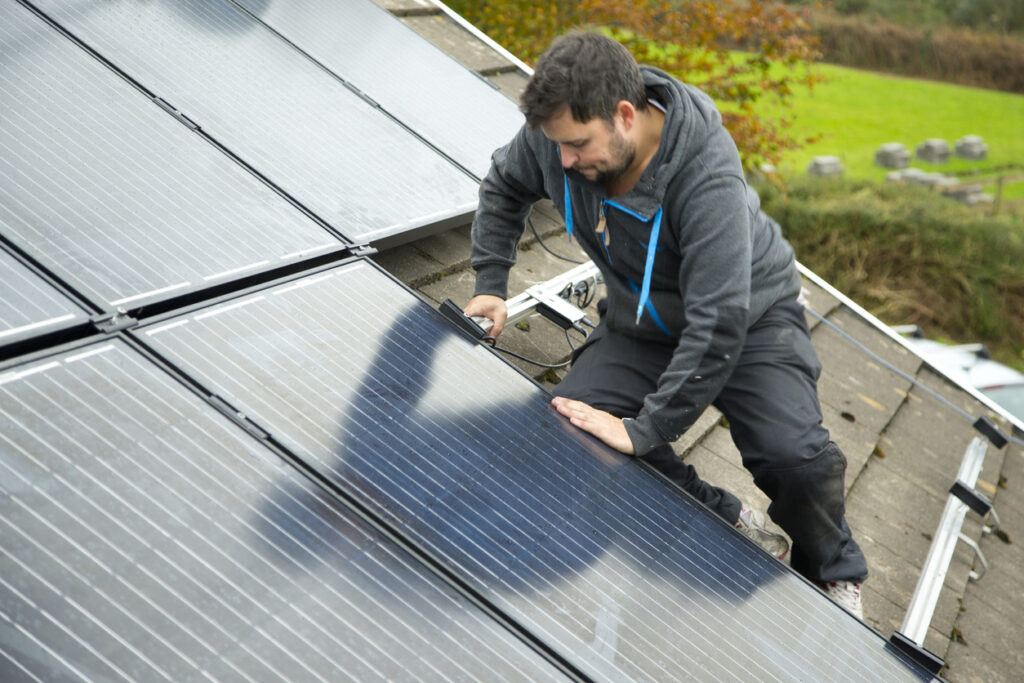
On the stanchions, you can place solar panels. Check that the plug connections are connected. After that, secure the retaining clips to the rails. This action will help keep your panel in position.
Connect To The Inverter
It’s time to power up your solar panels now. Turn off your electricity source before attaching the solar system to your residence. Connecting your solar inverter to the system is the next step. The inverter from DC to the necessary AC energy for your home will transform your solar energy. To avoid overheating, install the inverter in a well-ventilated and conveniently accessible location for maintenance and monitoring. Avoid the intense afternoon sun if you elect to put your inverter outside. Connect your battery to the solar inverter. When your panels are not producing enough energy, such as when it is cloudy, the battery comes in handy.
Hire WABO Roofing As Your Reliable Solar Panel Installer
Hope this article helped you with the entire procedure and all the necessary details of installing a solar panel. However, some concerns must be addressed before installation. One is the shape of your roof, and the other is the sun’s direction. Although you can do the installation and other inspections properly following this guideline, it is always best to consult an expert, like WABO Roofing, to inspect your roof. Call us anytime to get the most reliable service.