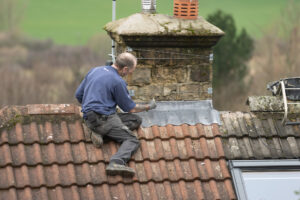
Roof valleys form when two parts of sloped roofs meet. They can be found around dormers and at the junction of two wings on a house. Even though roof valleys are prone to leaks as water converges in the valley’s trough, if you know what you’re doing, fixing valley leaks is not too difficult.
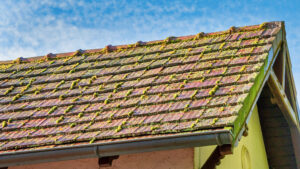
Like every other portion of your roof, roof valleys are channels made to drain runoff water, and like all roof components, they can deteriorate with time and exposure to the elements. In other situations, water may become caught beneath the tiles that were added to form the valley trough.
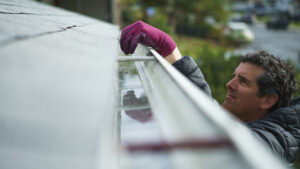
Either way, you can upgrade your roof’s flashing and remove the shingles and structural components causing the leak in the roof valley. A transitional roofing material called flashing joins the roof material to another roof component or another construction material. Most roof leaks are caused by broken flashing.
Types Of Roof Valleys
Although there are no limits to your inventiveness, you can create roof valleys that capture your imagination. However, roof valleys are classified into two types: closed valleys and open valleys.
Closed Valleys
As the name implies, closed valleys are closed off and give the appearance of a more continuous roof by fully enclosing and protecting the underlayment connecting the two flat slopes.
Underlayment is an adhesive material resistant to both water and ice that is used to block water leaks into roofs.
Open Valleys
Open valleys, as opposed to closed valleys, are exposed to the elements and the rain since they lack a smooth roofing material covering. Because of the metal flashing that fortifies these valleys, they are often referred to as metallic valleys.
Common Problems With Roof Valleys
Underlayment
Underlayment problems are frequently the cause of leaks in roof valleys. The size, type, and installation technique of your underlayment all impact how long your valley will last.
Thermal Expansion
Another significant problem is thermal expansion. In warm weather, the valley underlayment will expand and may wrinkle as a result. The irregularities in the metal valley underlayment may result in tears, splits, or holes. The creases themselves have the potential to reroute the flow of water beneath the roofing material.
Cross Wash
When water runs up one side of a valley rather than down, it causes a condition known as crosswash, which damages roof valleys. Cross-washing doesn’t harm roofs, but over time, it might result in leaks and other roofing issues.
Snow On Standing Seams
Although standing-seam roofs endure longer and are more resilient than conventional roofs, snow and ice storms can still harm them. Since the snow always runs down the valley in a standing seam roof, large pieces of snow might grab on the seams and distort them. Leaks may result from this weakening of the roof’s general structure.
The Roof Replacement Process
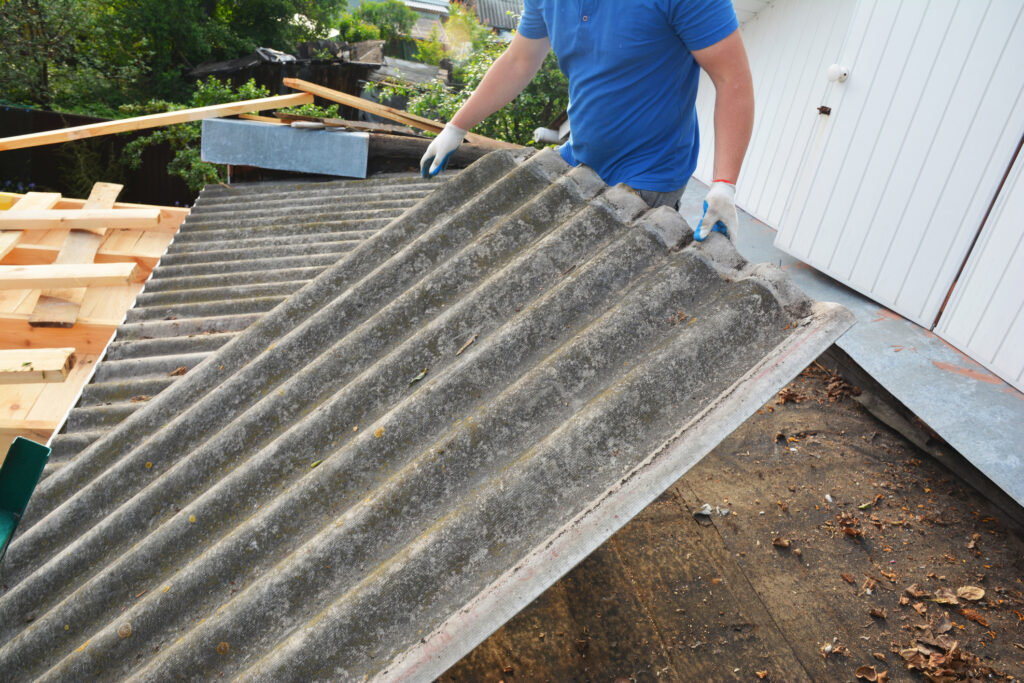
Step 1: Tearing off the old roof
It is necessary to remove the old roof before installing the new one. Along with all other roof elements like flashing, underlayment, and nails, this entails eradicating the old shingles.
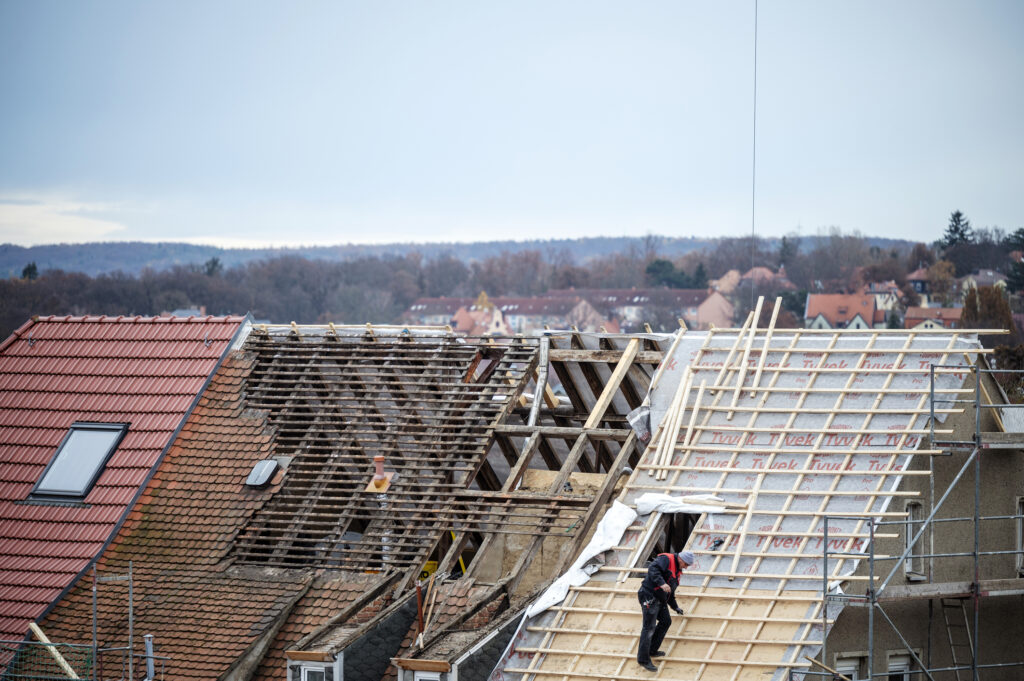
Step 2: Inspecting & replacing roof decking
After removing the old roof, the professional inspected the decking to verify it was in good shape. Roof decking is the layer of wood used to attach roofing materials to a building’s frame. If damage is discovered, the affected wood will be replaced with new plywood or OSB. Ensuring a firm and strong foundation for the new roof requires taking this crucial step.
Step 3: Installing a drip edge
The next stage is to build drip edges around the roof’ An additional layer of protection against water damage is provided by underlayments eaves and rakes. Installed around the roof’s perimeter, the drip edge is a metal flashing that keeps water from seeping through the shingles and into the roof decking.
Step 4: Applying Underlayment To The Roof Decking
The roof decking has to have underlayment applied after the drip edge is installed. Underlayment offers an additional line of defense against water damage.
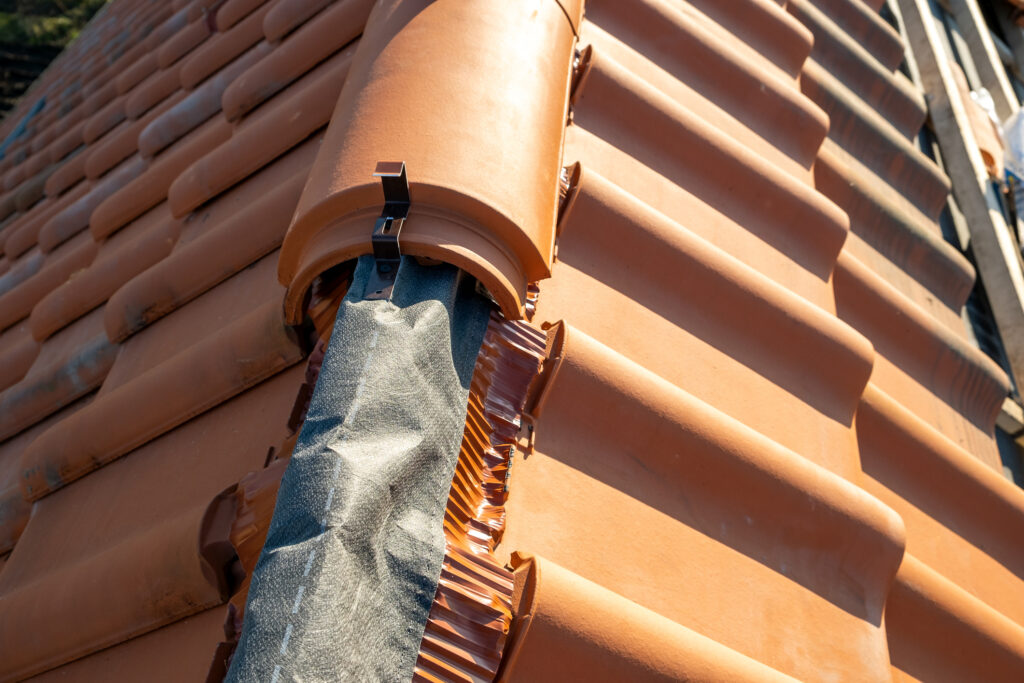
Step 5: Using A Leak Barrier To Waterproof Valleys
A unique leak barrier is put in valleys and other locations where two roof planes intersect in order to stop water from seeping beneath the shingles and into the roof decking. Metal flashing and self-adhesive membranes are two of the many varieties of leak barriers that are commonly used.
Step 6: Applying the first layer of shingles
It’s time to install the leak barrier and underlayment before shingle installation. Starter shingles are used to install the initial row of shingles. They are made especially to offer a stable foundation for the remaining shingles.
Step 7: Flashing the walls and Penetrations
Installing flashing around walls and other penetrations, including vents and chimneys, stops water from leaking in around them. Rubber and metal are two common materials used to make flashing. Various techniques will be employed to install flashing, contingent upon its intended use and roof location.
Step 8: Install your chosen shingles
The installation of the roofing shingles can now start as all the other protective items are in position. Shingles come in a wide variety of forms, such as tile, metal, and asphalt.
Step 9: Add ridge cap shingles to complete the installation
After installing the primary layer of shingles, ridge cap shingles should be added to complete the roof. Ridge cap shingles are particularly made to cover the ridge of the roof, which is the meeting point of two roof planes. To complement the primary layer of shingles, they are available in an array of hues and designs.
Step 10: Clean up the mess
Cleaning up the debris is the last stage of installing a new roof. All materials utilized in the installation procedure, including old shingles and nails, will be removed from the construction site by the roofing contractor.
Need Help Replacing Roof Valley Shingle?
Replacing a leaky roof valley requires skill and is particularly challenging on steep and tile roofs. Make sure to seek advice from reputable roofers like WABO Roofing if you experience any issues. It doesn’t matter what initially caused the issue; we can efficiently and promptly undertake these kinds of repairs.
Get in touch with WABO Roofing, your go-to company for full-service roof repairs and replacements. Together, you and we will assess the damage and provide recommendations that are suited to your particular circumstances. Giving you excellent service is always our top focus!