Within a proper roofing job, several layers are crucial to offer the most protection against water damage. The first line of defense for homes in Bellaire and the greater Houston area is to install drip edge flashing. Drip edges are critical components that can keep water from causing pricey damage to your roof and supporting structures.
The elimination of this step may be a future nightmare. In case you are re-roofing your home, make sure to demand a drip edge. Keep reading to learn how to install a roof drip edge and why WABO roofing knows it is important to do the job correctly.
What is a Drip Edge and why is it important to have it installed on your roof?
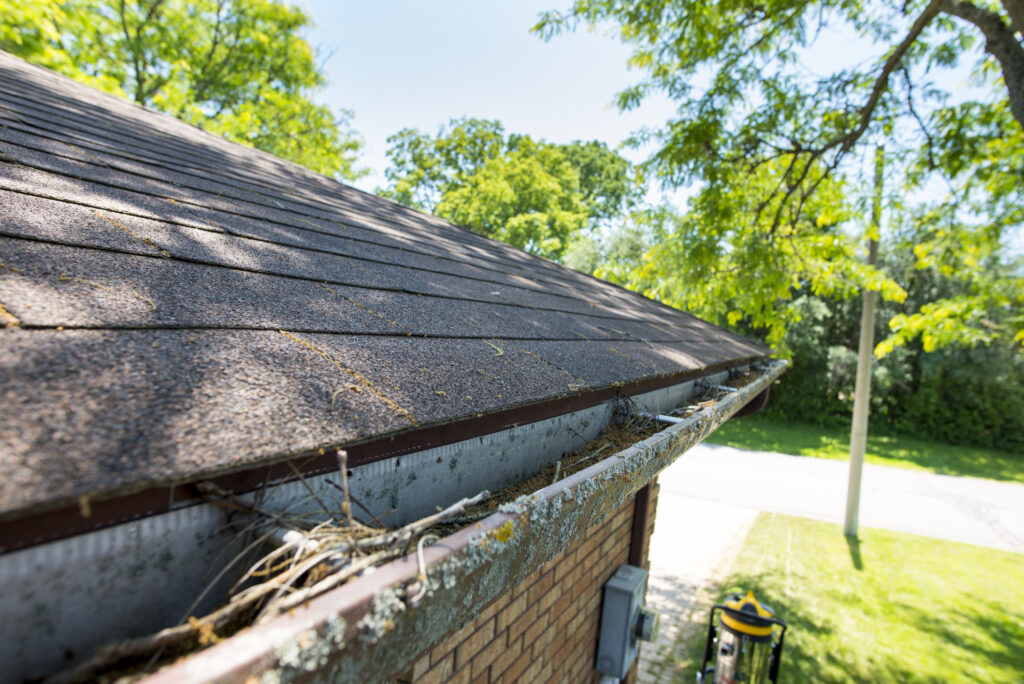
Thedrip edge is a piece of metal flashing that’s used to direct the water flow away from the roof and the fascia into the gutters or directly off the house. A drip edge is installed at the roof’s edges to help protect the primary roofing components. Roof drip edges are important for the structural integrity of your roofing system. It prevents rainwater from seeping under the first layer of the shingles, which can lead to water damage in the roof’s soffit boards and fascia.
Roof drip edges protect the underlayment of the roof and extend the life span of the roofing system significantly. Without installing drip edge flashing on a roof, water can get behind the gutter and begin running down the home. This may allow moisture to collect on the fascia board, resulting in it rotting. Since gutters are attached to the fascia roof and if the fascia board starts to rot, you can experience issues with gutter performance.
Steps to Install a Roof Drip Edge
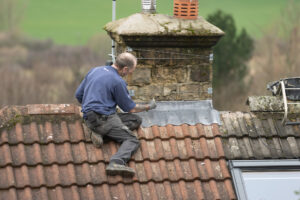
If you are determined that your house needs a drip edge, you must consider hiring a professional. It is quite common for an inexperienced to make errors that may lead to issues down the line. However, if you are set to try it yourself, below mentioned are the steps that you must follow.
Safety First:
Make sure you have a stable and safe working environment. Ensure appropriate safety gear such as sturdy footwear, safety goggles, and gloves.
Clean the roof edge:
Clear the area for any obstacles or debris that may pose a hazard. Remove existing roofing materials or dirt from the edge of the roof. This will provide a smooth and clean surface to ensure a secure drip edge installation.
Plan the installation outline:
Determine the direction and starting point of the drip edge along the roof. Consider the desired water runoff direction and the slope of the roof. To ensure effective water diversion, plan the proper alignment and overlap.
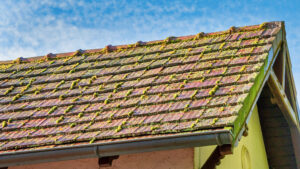
Inspect the surface of the roof:

Inspect the surface of the roof for any deterioration, rot, or damage before installing the drip edge. Address the underlying problems and required repairs before starting the installation.
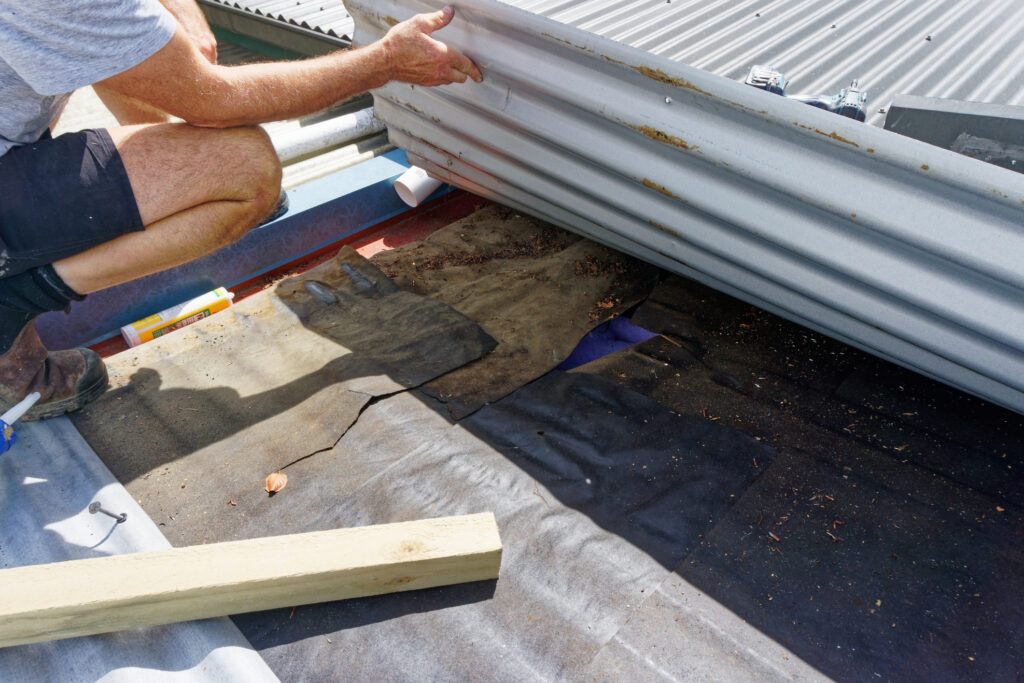
Begin at the eaves:
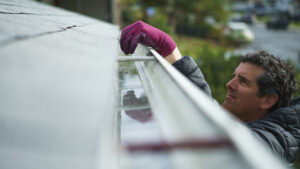
First, place the flat, wide flange beneath the first course of shingles. Start with placing the drip edge along the roof’s eaves, thereby aligning it with the roof’s edges. While doing so, ensure that none of the outer edges are protruding past the gutter. Ensure that the drip edges slightly extend over the edge to direct water away. If you cannot see the edges sticking out, slightly pull the drip edge to compensate.
Secure the drip edge:
Next, you need to secure the material in place with the help of roofing cement. To ensure a more secure fit, it is good to use some roofing nails or screws. Hammer high up on the shingles in some roofing nails to help hold the drip edge in place. Read and understand the manufacturer’s instructions for a specific drip edge product you are using.
Consult local building regulations or codes to ensure you comply with any specific guidelines for drip edge installations. Space the fasteners according to the manufacturers’ recommendations every 12 to 18 inches. Familiarize yourself with any particular installation recommendations or requirements. Adhering to codes will ensure the installation meets safety standards and is done correctly.
Overlap the sections:
While installing multiple sections of drip edge, make sure to overlap them properly. A 2 to 3-inch overall typically is recommended. This overlap provides a continuous barrier and prevents water from seeping between sections.
Form the drip edge:
If required, cut and shape the drip edge to fit around the angles and corners of the roof. Use a suitable cutting tool or tin snips to achieve the desired shape.
Secure the corners:
Adhere to the roof’s corners where the drip edge meets. Around the corners, fold and secure the drip edge to prevent water leakage and maintain a tight seal.
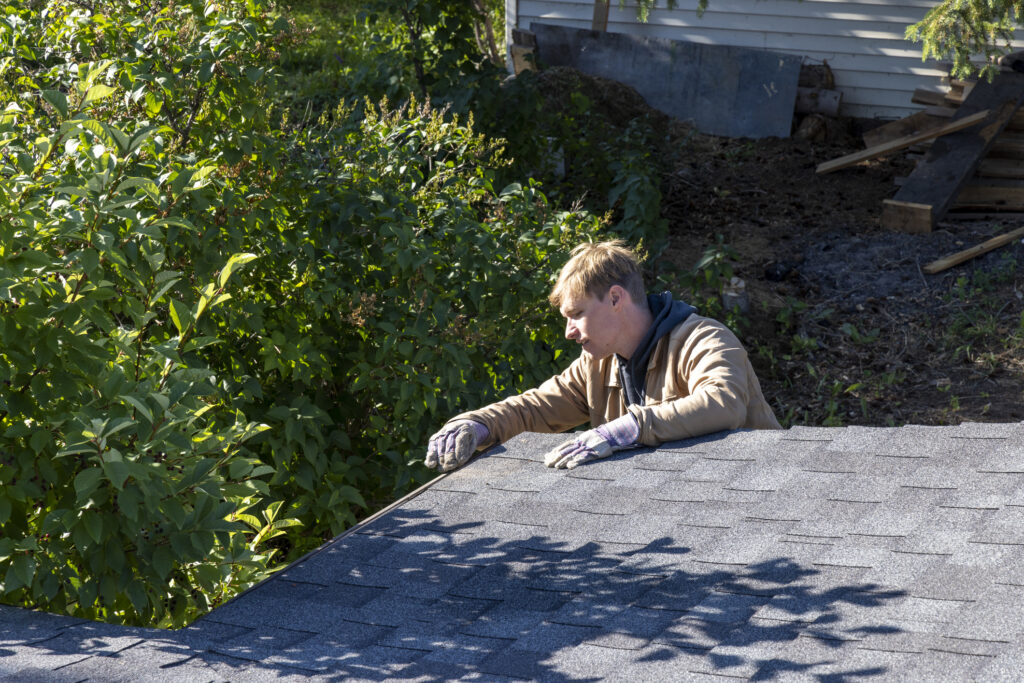
Check the alignment:
As you continue the installation, check for proper alignment of the drip edge periodically. For a professional and neat finish, ensure it stays straight and parallel to the roof edge.
Finish the installation:
Continue the drip edge installation along the roof’s entire perimeter, following the similar steps mentioned above. Take enough time to check each section is fastened securely and overlapped properly.
Inspect and make required adjustments:
Now that the drip is installed, inspect it for any improperly secured or loose sections. Re-secure the areas or make any necessary adjustments that may need attention.
Wrapping up
Installing a drip edge is a vital step in protecting a roof from damage related to water. By following the steps outlined in the guide, you can install a drip edge on the roof with confidence and ease, guaranteeing an effective and durable roofing system. If needed, consult a professional and refer to the manufacturers’ guidelines. If you have any questions or need professional assistance, you can reach out to WABO Roofing. We are your roofing experts who can provide proper support and guidance for your drip edge installation. So, what are you waiting for? Go ahead and protect your roof and home for years to come!