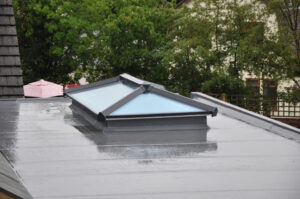
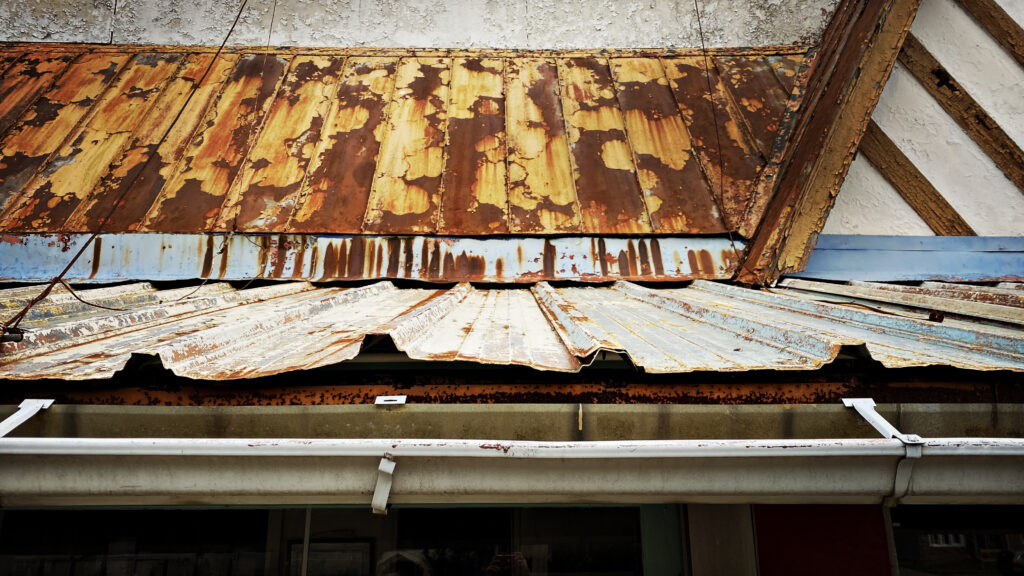
Suffering from a leaking roof? The most common culprit will be your damaged roof flashing. Roof flashing is a vital element of your roof’s waterproof system. It is a thin sheet of material that’s placed around the joints and edges of your roof to help direct water from the areas.
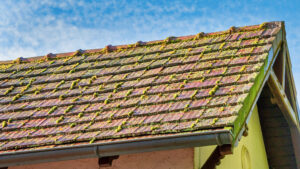
Over time, the flashing can develop issues like cracked or bent problems, rusted or corroded areas, water pooling around vents, pipes, skylights, or chimneys, missing sections of flashings, or damaged sealants. These require special attention from professional roofing contractors such as WABO. We will discuss here how you can repair or replace the metal flashing on your roof, whether you’re in Tomball, Friendswood, or outside the greater Houston area. This will help you get your roof repaired quickly to help avoid further damage and save you money as well.
Methods To Fix Roof Metal Flashing
Complete a roof inspection and ensure you have the suitable materials:
Some suitable roof flashing materials you will need include roofing cement, galvanized steel roof flashing, a hammer, and nails. Using a ladder roof hook, complete a roof inspection, check the roof tiles and asphalt shingles, and make sure you have the correct step flashing.
Clean and Seal:
If you notice that your metal flashing is suffering from any minor damage or a localized problem where water is seeping through the roof in a particular place, the clean and seal approach is ideal. It is a temporary solution while you await a professional roof repair service from a qualified roofing contractor.
After you have investigated and found the affected area, start by carefully cleaning the affected area to remove old sealant, debris, or dirt. Use a wire brush/scraper to eliminate corrosion and rust. After cleaning, apply a new layer of silicone caulk or roofing cement to seal any cracks or gaps in the flashing.
Use Flashing Tape:
If your roof flashing requires a minor repair or has a small crack, flashing tape is a useful repair method. In cases of small gaps or minor damage, flashing tape serves as a quick fix. Thoroughly clean the area and apply the tape over the damaged section. To create a waterproof seal, make sure it tightly adheres.
Reattach Loose Flashing:
When you notice that your roof flashing is no longer secure on your roof or has become loose, you have to reattach it. Roof flashing becomes loose because it is old or it has been subject to some harsh weather conditions. To reattach your roof flashing, use roofing screws and nails to securely reattach loose sections. Apply roofing cement or roofing sealant around the edges to prevent water infiltration and reinforce the seal.
Replace Damaged or Corroded Sections:
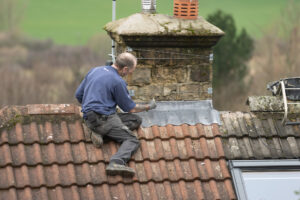
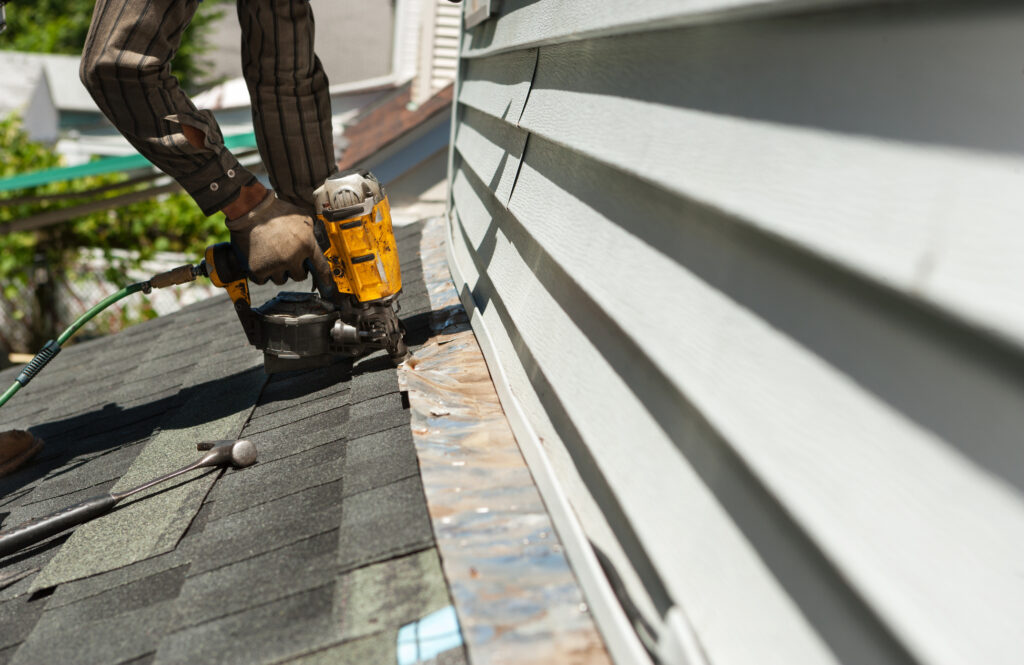
This method of roofing is for more extreme and more serious cases where the roof has been extensively damaged due to extensive corrosion, rust, or extreme weather and needs immediate repair. When you notice that your roof flashing is damaged, carefully remove the damaged part, cut a new piece to fit, and finally secure it in place using roofing screws or nails.
- Take off the old or damaged roof flashing: Take the shingles off with the flat end of a hammer. You can remove the old flashing by loosening it. Remember that you can reuse old shingles if they are not damaged. So be careful while removing.
- Cut the flashing to the appropriate size: Cut the flashing to a proper size using a set of shears or a cutting snip. Avoid cutting the flashing too small, which will not correctly fit. If its shape or size is too big, you can anyways later modify the size.
- Make a 45-degree cut in your flashing: If the flashing isn’t the corner flashing type, you must make a 45-degree cut in the material. Cut a line to the flashing’s middle from one corner and then cut down from the center, thus removing a triangle from the flashing.

- Bend the metal flashing and attach it: Make a bend in the flashing, ensuring it aligns and fits the corner. Then, attach it with a nail, making sure that the top side of the flashing is 20 cm above the roof.
- Layer another flashing on the top: By bending it, prepare another piece of flashing and see how it can overlap the first piece. Add sealant and attach the piece of flashing piece to the first one.
- Replace the tiles: When replacing the flashing, you need to take your tiles odd, and while you work, you need to replace them.
- Continue adding each flashing: To create each step of the roof, cut, bend, and overlap flashing. Overlap the flashing at 7.5 cm amounts on the previous step. To create a watertight seal, ensure it properly overlaps with the existing flashing.
- Add the tiles: After all steps of metal flashing, add the tiles and alternate between tiles and flashing. Continue this process up until the top of the roof.
- Affix peak flashing to the roof: To finish the flashing repair and to attach peak flashing, mix and use nails and roofing cement.

You must leave this type of repair to qualified repairs as without the correct methods or tools, you can cause more damage to the roof, costing a lot of money on repairs.
Wrapping up
Roof flashing is an important component of the roofing system, protecting from any damage or water leaks and maintaining your roof. Damaged roof flashing may lead to roof leaks wreaking havoc on your property, damaging your property. The methods mentioned above offer various solutions. If you are uncertain about the repair process, consider involving a professional. To ensure an effective and proper repair, seek professional help. Choose WABO Roofing for all your flashing repair and replacement needs. We provide a selection of roof replacement and repair services. Get in touch with us today!