Attics and roofs in houses need to “breathe,” much like living things do. Although your roof doesn’t have lungs, it has vents intended to ventilate your attic and house. There should be at least a one-inch space on both sides where the roof decking finishes and the ridge of your roof meets the central ridge board. This orifice is a continuous vent, also referred to as a ridge vent. WABO Roofing is well versed in both roofing building and ventilation solutions.
Ridge vents allow air to pass from within a house or building’s interior to the outside through small apertures. They are positioned at the roof’s apex. These vents allow warm, humid air to rise naturally from the attic space. Ridge vents allow heated air to escape through the top of the structure, improving fresh air circulation in commercial facilities like warehouses.
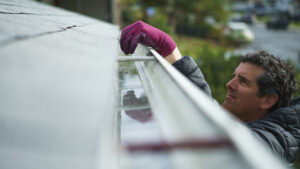
Most homeowners don’t usually have to worry about their ridge vent. But sometimes, you might need to fix or replace it, especially if you’re getting a new roof. We’ll guide you through how to handle ridge vent installations!
Importance of Ridge Vents
A professional ridge vent installation in residential roofing works with soffit and gable vents to generate air flow circulation in an attic. Air moisture may condense on slightly cooler surfaces without ridge vents. This moisture may eventually accumulate to the point where it leaks into the house below and causes water damage.
On the other hand, ridge vents in commercial structures, especially metal ones, lessen condensation that can result in rust and corrosion, which, over time, weakens the metal. A cooler upper air area increases the effectiveness of air-conditioning systems for the inside of the building or residence, which is another advantage of having ridge vents.
Types of Ridge Vents
While the shingle over vent system is the most common ridge vent installation style, other varieties, such as aluminium, were once popular. The following are the most popular types:
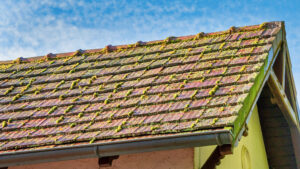
Shingle-Over Style Ridge Vent – The most common style of ridge vent is a shingle over roof vent because it allows condensation to escape at the ridge. The shingle over the vent allows for the addition of a cap shingle to blend in with the roof.
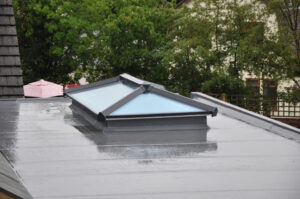
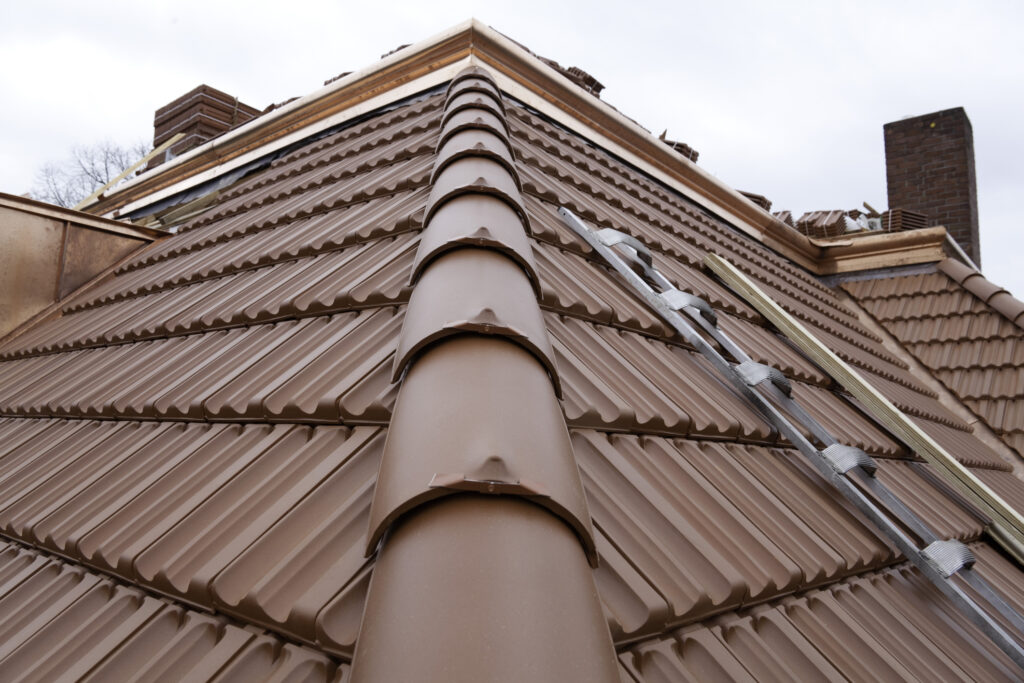
Metal Ridge Vent – A metal ridge vent may be essential depending on the design of your roof or the kind of roofing material you employ. With shingles covering the vent system, a standing seam metal roof won’t look appropriate, so a metal ridge vent is required.
Aluminum Ridge Vent – Although aluminium ridge vent installation is no longer common, some homes may still contain aluminium vents from their original construction. Sometimes, a homeowner or roofing contractor may favour an aluminium ridge-styled vent, which functions similarly to the shingle over vent design. The primary difference is robustness and considering additional elements like rust or leakage.
Preparing for Ridge Vent Installation
Ridge vents collaborate with gable vents, soffit vents, and other vents. Soffit vents improve air circulation across the entire attic better than gable vents do. The roof ridge vent won’t work if these vents are missing. To have a system that works well, they can be installed either before or after the ridge vent.
Take Off Cap Shingles
The old ridge cap shingles must be taken off in order to install a ridge vent. The installation of the ridge cap vent requires sufficient shingle removal throughout the entire ridgeline.
Remove Wood Sheathing
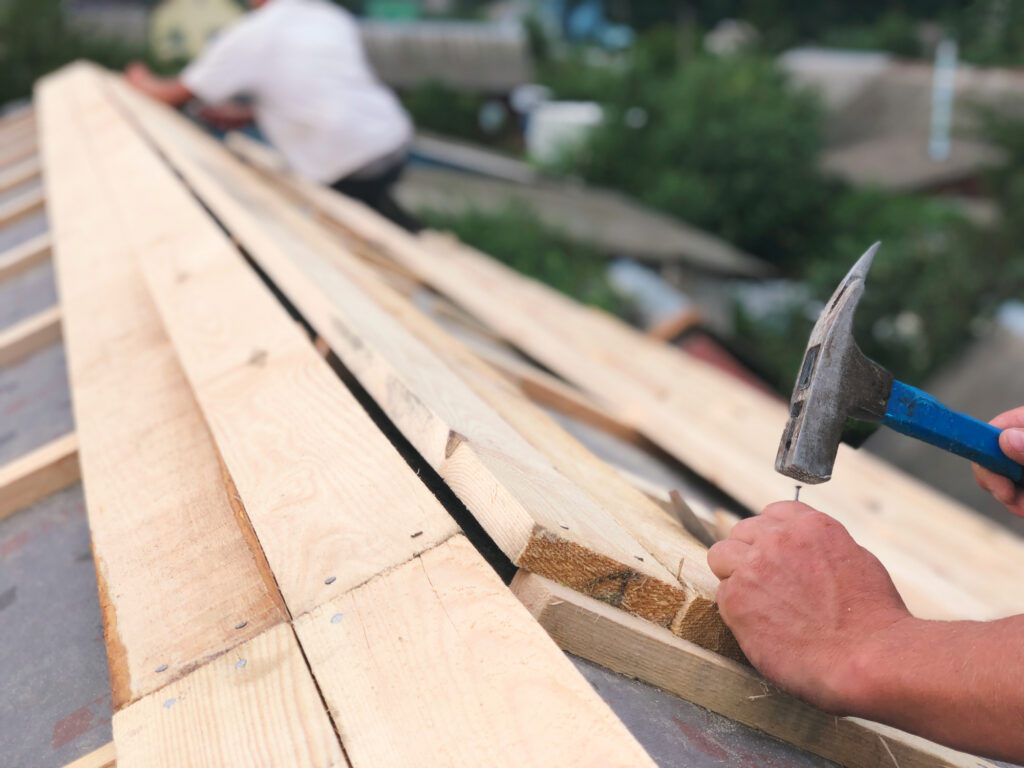
The saw-cut lines are marked by chalk snap-lines on the wood sheathing to ensure they are level and match the holes wanted for the ridge vent. It is important that the open space measurement be precise and sufficiently large (not less than one inch wide) to permit air to escape through the ridge vent.
It is necessary to remove any nails that can obstruct the saw cuts. The saw-cuts are meticulously produced to be as precise as possible. The saw blade’s depth is calibrated to only cut through the wood sheathing and any leftover shingles, leaving the roof trusses or ridge board alone.
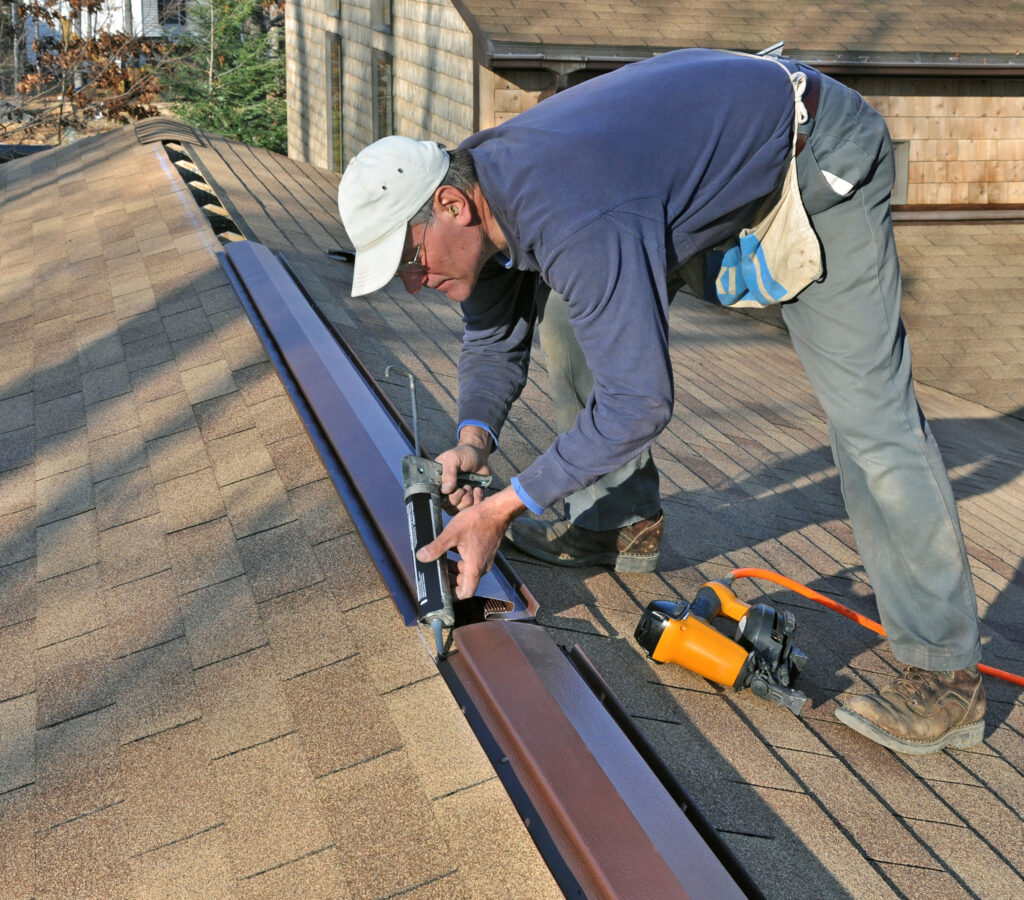
Ridge Vent Installation Over Shingle
Along one side of the ridge, measure the location where the manufacturer recommends staying away from the ridge line, and then snap a chalk line between the marks to establish a reference line.
The manufacturer’s instructions should be followed for the shingle-over ridge vent installation along the reference line and nailing it to the side decking. Attach the vent’s other side to the ridge’s other side in order to firmly secure it. After that, apply asphalt shingle tops over the vent using the manufacturer-recommended nails.
Ridge Vent Installation Over Metal
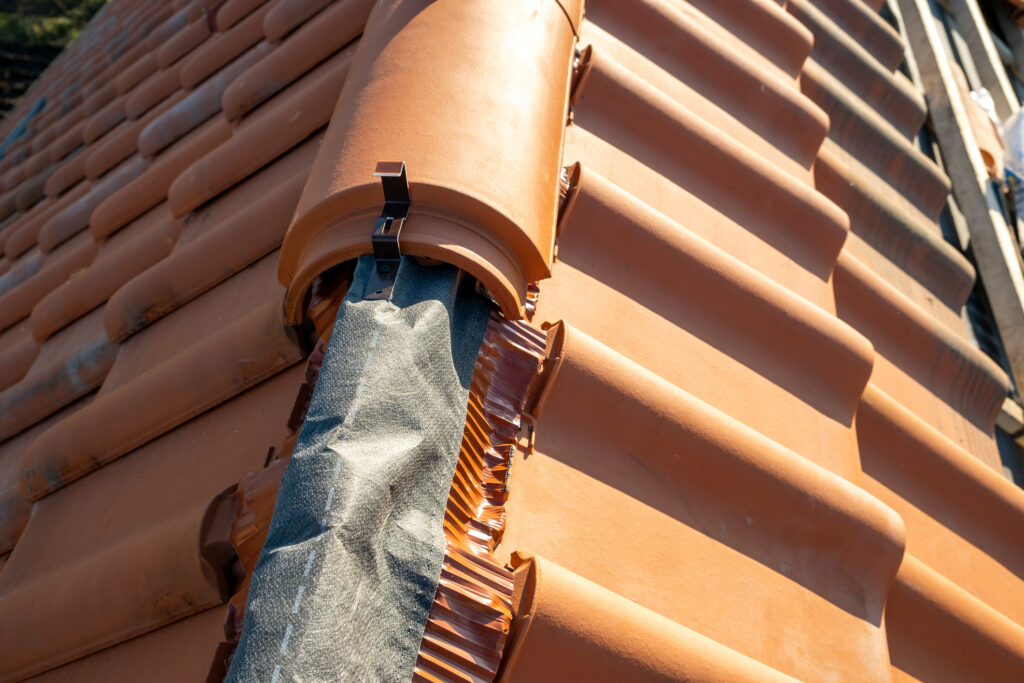
Ridge vents for metal roofs are sold in kits with connectors and end plugs. These connecting and finishing parts are installed to ensure that the ridge vent is watertight and that no pests can enter the attic space. For metal roofs, the ridge vent is fastened over the appropriate opening using adhesive and self-tapping metal roofing screws, metal washers, and a neoprene gasket to prevent water leakage.
Ridge Vent Installation Over Aluminum
Measure down and mark the manufacturer’s specified distance from the ridge and then snap a chalk line through the marks to make a reference line. Then, follow the manufacturer’s instructions and caulk the vent’s flange’s underside on both sides with polyurethane.
Place the aluminium ridge vent parallel to the reference line. Use the nails and nail spacing recommended by the manufacturer to fasten the vent to the roof decking and rafters through the flange on both sides.
Add any connectors and end caps that come with the ridge vent system to verify the vent is watertight.
Call WABO Roofing To Handle Roof Ridge Vent Installation
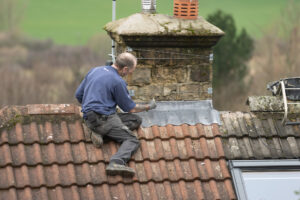
If you want to install the vent by yourself, make sure you’re ready for the challenge. This project necessitates working on a tall ladder and atop the roof with hand and power tools. If you are afraid of heights or are confused about using your tools, consider hiring a professional. We take great pride in providing reliable solutions to our clients.