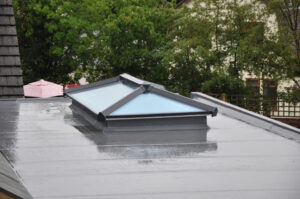
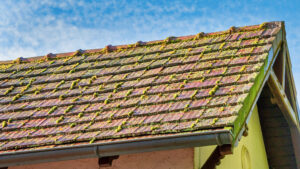
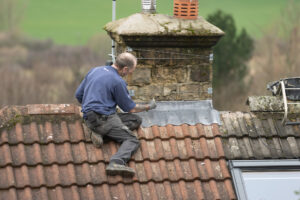
Roof flashing is a vital part of roofing systems as it helps maintain a home’s structural integrity and shields it from the harsh elements of weather. Its significance cannot be underestimated as it prevents water intrusion, which can cause significant damage and expensive repairs if left uncontrolled. Houston areas like Alvin may not usually experience much in the way of snow, sleet, or ice build up, but the effect of wind and rain is not to be underestimated.
When properly installed, a roof’s flashing system serves as a barrier, keeping moisture, melted snow, and rain from entering the roof’s weaker spots. This defense is especially important in areas that frequently experience heavy precipitation or severe weather. When a structure doesn’t have adequate flashing, water can leak in and cause a myriad of issues, such as wood rot, mould growth, and damage to the interior finishes. Roof flashing essentially protects and deters any disasters that water entry can cause to the roof, and when damaged need immediate repair from a roofing specialist such as WABO.
What is Roof Flashing?
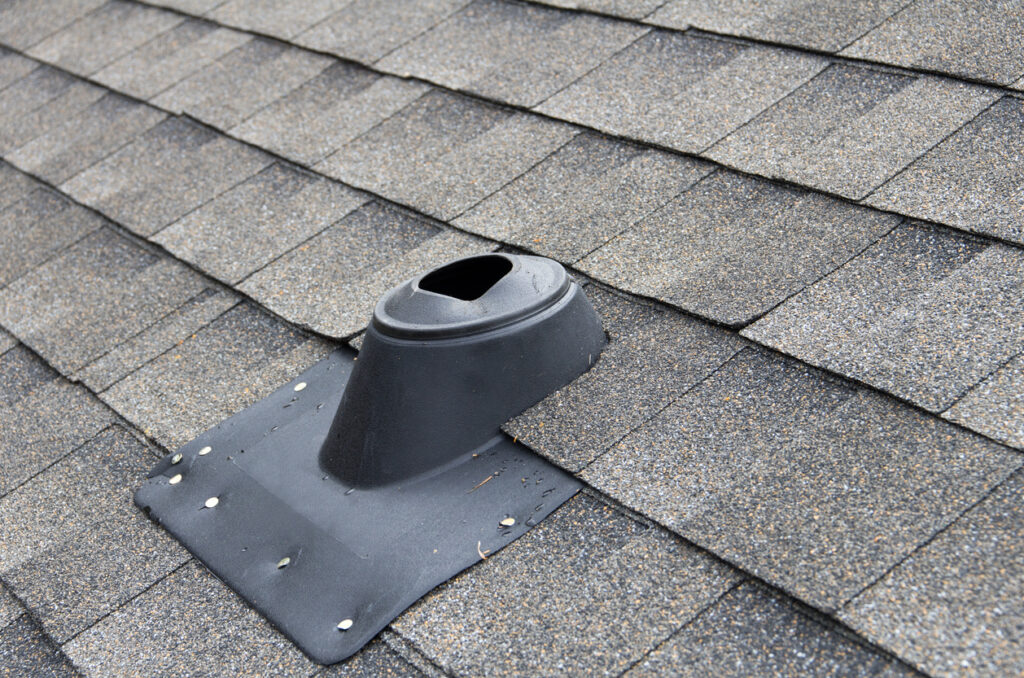
Flashings on the roof are used to seal various roof penetrations. Roof flashings will weatherproof and seal a specific region, whether from a chimney, vent pipe, exhaust fan, skylight, or other source.
However, there is a chance of leaks if a roof flashing is not properly installed. Water can enter the opening and harm a home’s walls, drywall, wood, and more, in addition to the roof.
Flashings are available in various thermoplastic, aluminium, galvanized, and copper materials for commercial and residential applications.
It is critical to have a firm grasp on how to safely and efficiently install flashing; hence, it is essential that you call for a professional like WABO Roofing. We have the knowledge and skills to install a flashing professionally.
Things to Consider When Choosing the Right Roof Flashing

Pitch of the roof
Pitch is also known as the angle of the roof. You must select a flashing that can accommodate a 90-degree pipe angle if the roof of the house is flat. A pitched roof, on the other hand, needs an angled flashing that is made to match the angle of the pitch.
Material
The material of the flashing should be one that works with the type of roofing you have. Galvanized steel, aluminum, copper, or speciality roofing membranes are popular options. To survive intense weather, the material must also be good for your climate.
Location and Climate
The flashing must withstand the expansion and contraction of roof due to changing temperatures if it is to maintain its watertight seal. It must also tolerate continuous UV exposure without breaking down. The flashing should have a galvanized base or coating to prevent corrosion if the house is close to a saltwater source.
Vent-pipe diameter
Select a flashing with an entrance that is the right size for the pipe that exits the roof to ensure a watertight seal. Never attempt to slide a smaller flashing collar over a larger pipe, as this will cause the collar to wear out prematurely. Never use sealant to fill the space left by a larger collar being installed over a smaller pipe. Any sizing errors will result in leaks inside the house or structure. Also, remember to use a very good sealant so that the bond between the roof and the flashing is airtight. Sealing it well will help in keeping the water out.
How do We Install Roof Flashing?
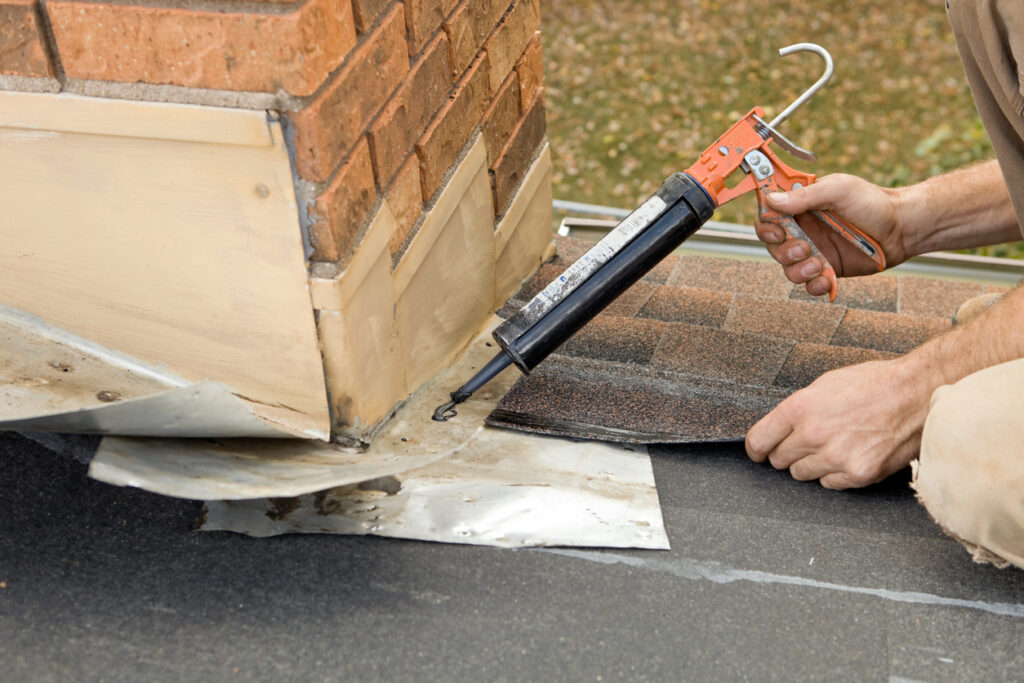
Here is a small guide for you to understand how we install the roof flashing:
Prepare
The roof needs to be carefully cleaned and checked for damage or flaws before installation of the flashing. Any existing flashing that might be worn out or damaged should be removed. All types of surface-level repairs to the roof should have been completed.
Measurement and Cutting
Cut the flashing pieces in exact lengths and angles after carefully measuring their dimensions. It is vital to stay precise because it ensures proper fit.
Step Flashing Installation
Step flashing is installed by specialists like us at roof-wall crossings. It ensures that water is channeled away from the wall, and each piece of step flashing is installed beneath the course of shingles or roofing material. These pieces need to be assembled precisely.
Valley Flashing Installation
Valley flashing is meticulously installed in roof valleys along the centerline, with slight overlap. It is fastened in place with roofing nails to make sure it matches the curve of the valley. They require careful placement since they channel a lot of water.
Sealing
Roofing sealant is applied to all the flashing joints and seams to produce a watertight seal. This includes covering edges, overlaps, and nail holes. We use sealant that is compatible with both roofing and flashing material.
Counter Flashing Attachment
The base flashing is first installed and fastened to the roof for features like chimneys or vents. The counter flashing is fastened to the chimney or inserted into a mortar joint later. This system offers additional defense against water intrusion.
Drip Edge Installation
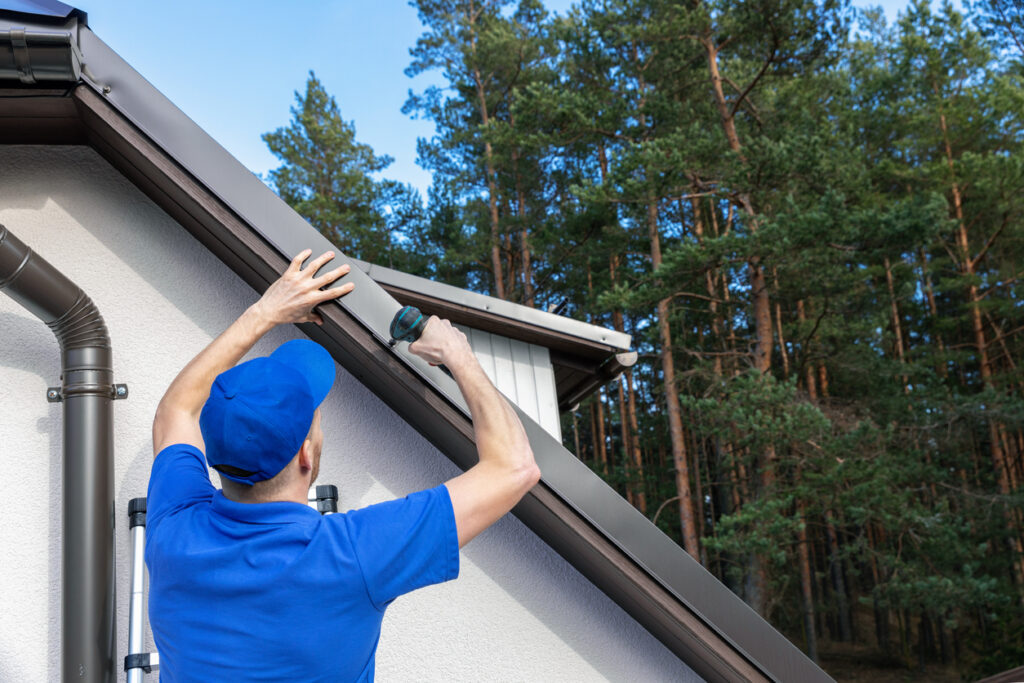
Drip edge flashing is placed along the eaves of the roof. This part works to direct water into the gutter system and shield the underlying structure from damage. It is important that the drip edge is installed in the right way so that water is effectively guided outwards.
Inspection and Testing
Once our team has completed the roof flashing installation, we conduct a thorough inspection to ensure there are no gaps, alignment issues, or other potential entry points for water. We also conduct a water test to check and confirm that the flashing efficiently diverts water away from susceptible areas.
As you can see, installing a roof flashing is a meticulous task and should be done in an accurate way because it guarantees the safety of your roof. When installed unprofessionally, it may cause severe damage to the roof and compromise its effectiveness while also costing you a lot of money. You can rely on WABO Roofing to perform all roof relation tasks efficiently.

