It’s no secret that homeowners are always busy. Between work, family, and social obligations, there never seems to be enough time in the day. This is especially true when it comes to home repairs and maintenance tasks. One task that often gets overlooked is roof inspection.
Many homeowners assume that because their roof looks okay from the ground, there’s no need to inspect it further. But this isn’t always the case – sometimes, minor problems can turn into major headaches if we do not address them early on.
This blog post will provide a roof inspection checklist for busy homeowners who want to make sure their roof is in good condition!
How To Perform A Roof Inspection- The CheckList
Staring at your roof is pointless if you don’t know what you’re looking for. Use this 5-point roof inspection checklist on your next roof inspection to spot the main causes of roofing decay.
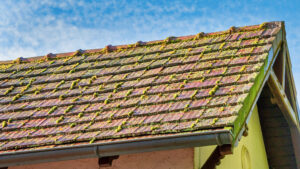
1. Look For Organic Matter Chunks (Algae, Moss, Or Leaves)
Organic material accumulating on your roof can trap moisture that eventually seeps into the sheathing below the shingles. It would help if you cleared it immediately.
Moss is especially dangerous since it absorbs a lot of water like a sponge. The dampness might cause the wooden framework beneath your roof to grow mold and decay, which may threaten its structural integrity.
2. Look For Bent-Out-Of-Shape Shingles
Heat in your attic can warp, buckle, or curl your shingles (this is usually a problem with asphalt shingles). Misshapen shingles might harm the integrity of your roof and allow water in, resulting in serious damage and, in some cases, requiring replacement. Consider replacing the whole roof if more than 1/3 of it is misshapen.
3. Examine The Roof For Cracks, Holes, Or Missing Shingles
Water may also seep through your roof if the shingles are missing or damaged. Examine your wooden shingle or wood shake shingles for indications of dry rot, whether from the ground or a ladder (avoid walking on a wooden shingle or shake roof).
Roofs made of asbestos, slate, or clay tile might break apart. Look for cracked, chipped, broken, or completely missing shingles. Examine the metal roof for signs of corrosion, rusting, stress wrinkling, and other damage if performing a visual inspection.
4. Examine The Roof Up Close
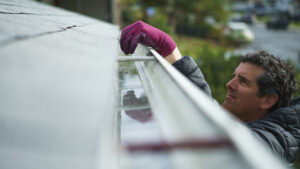
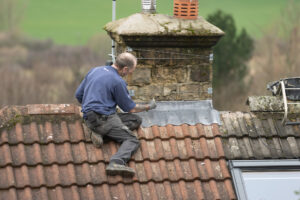
If you have the opportunity, get up on a ladder and perform your roof inspection up close. Look for damage to the flashings surrounding the chimney, dormers, and vent pipes while you’re up there. Water can seep through damaged or rusted flashings and cause damage to the interior structure of your roof. Replace the flashing if you find any damage.
5. Take A Look At Your Attic
If your home has an attic, get up there and look for signs of water seeping through your roof (especially after a rainstorm). Doing so may help you detect damage that was not evident from the ground or the top of your ladder.
How Often Should I Have My Roof Inspected?
Your roof serves as the first line of defense for your home against the elements. Hence the importance of roof inspections at least twice a year; you may safely and securely inspect it yourself for signs of damage and wear.
It’ll always be best to get a professional roof inspection. Experienced roofers can offer you solutions based on your needs and professional advice to extend your roof’s lifespan.
Work With The Most Professional Residential Roof Contractors
If you’re looking for a professional, experienced roof inspection and repair team that can help you keep your home in good condition, WABO Roofing is your perfect choice.
We’re an A+ rated BBB company, a Master Shingle Applicator through CertainTeed, and a GAF Master Elite Contractor with a reputation for ethical business practices. Our experienced and fully licensed team will perform a free inspection supported by photographs of any damage we find to show you. Hit the link below to learn more about how we can help!

